

How I Refinished Our Outdoor Wood Columns (Again!) — Step-by-Step DIY
We have five beautiful wood columns on our front porch and back patio — and over time, weather and wear take their toll. A few years ago, I refinished the first three columns, and they’ve held up great. This spring, I finally tackled the last two! In this post, I’m breaking down the exact steps I followed to refresh the wood, the products I used (that I absolutely swear by), and a few lessons learned that will help you avoid mistakes on your own outdoor refinishing project.
🧰 Materials + Tools I Used
- Miracle Mist Mold & Mildew Stain Remover
- Electric Sander
- Pressure Washer
- Pre-Stain Wood Conditioner
- Paintbrush
- Sherwin-Williams Exterior Stain in Canyon Brown
📝 Tip: I already had most of these on hand from the last round, so it was very budget-friendly for me. But even if you’re starting from scratch, this is a fairly low-cost project with a big payoff.
🪵 Step-by-Step Process
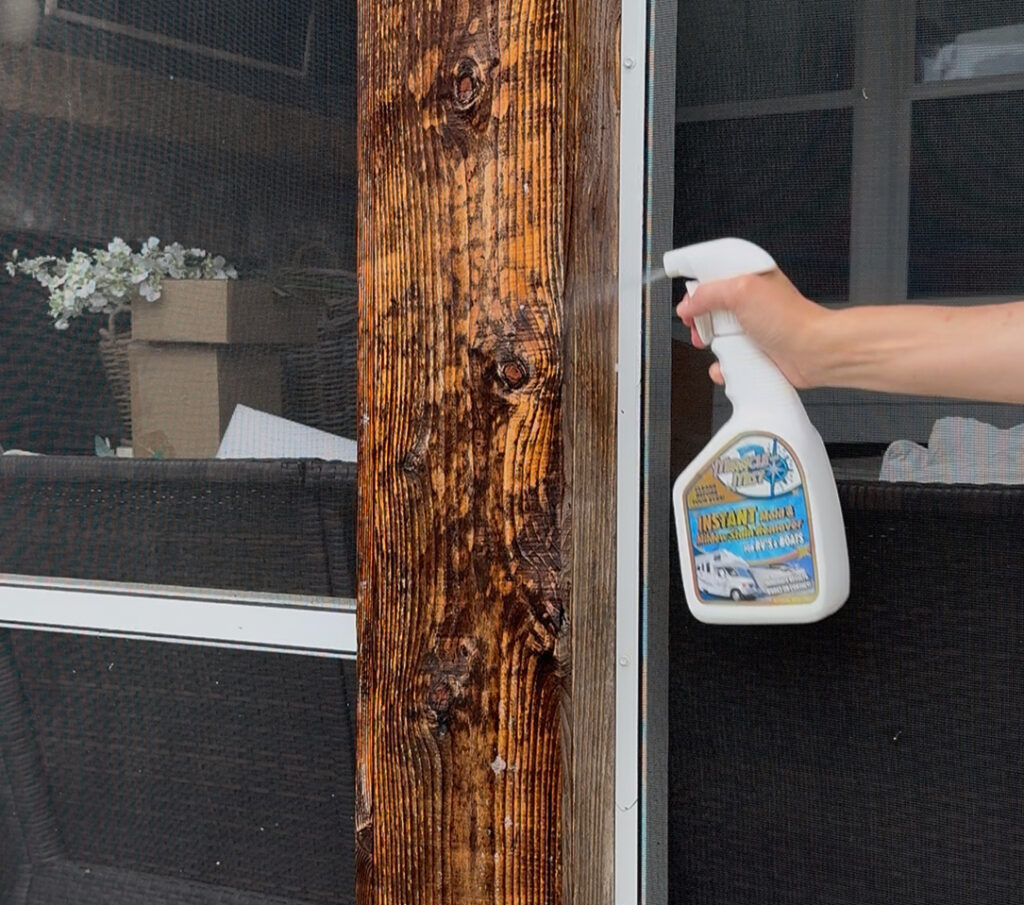
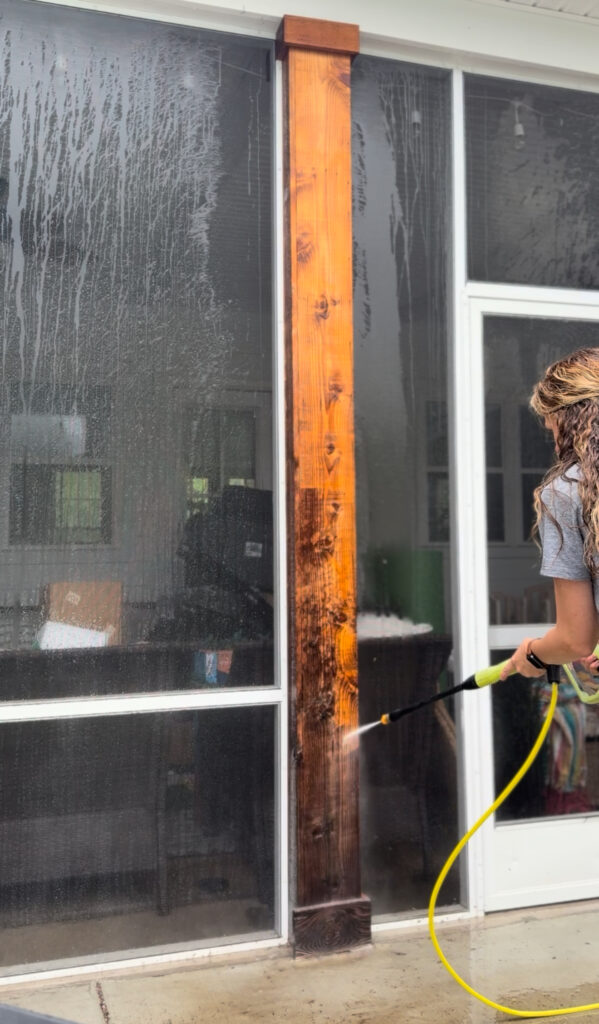
Step 1: Clean the Wood
I sprayed the columns with Miracle Mist and let it work its magic on all the mildew and buildup. After that, I used a pressure washer to rinse it off thoroughly and allowed the wood to dry completely before moving on.
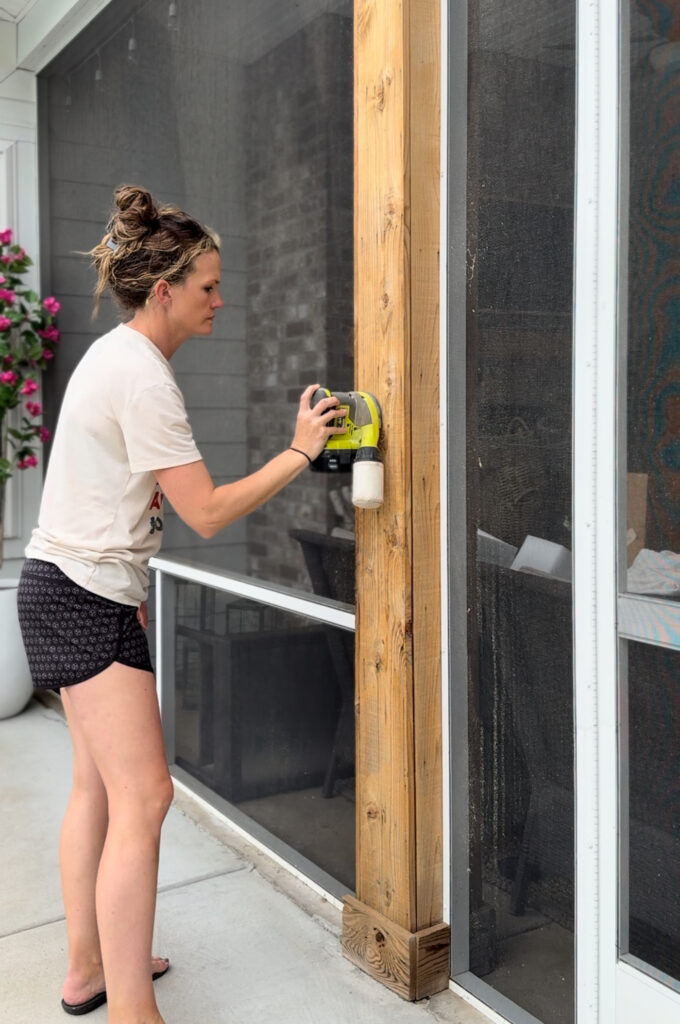
Step 2: Sand Everything Down
Once dry, I used my electric sander to smooth out the surfaces and remove any leftover debris or uneven spots. This step is crucial for getting an even finish.
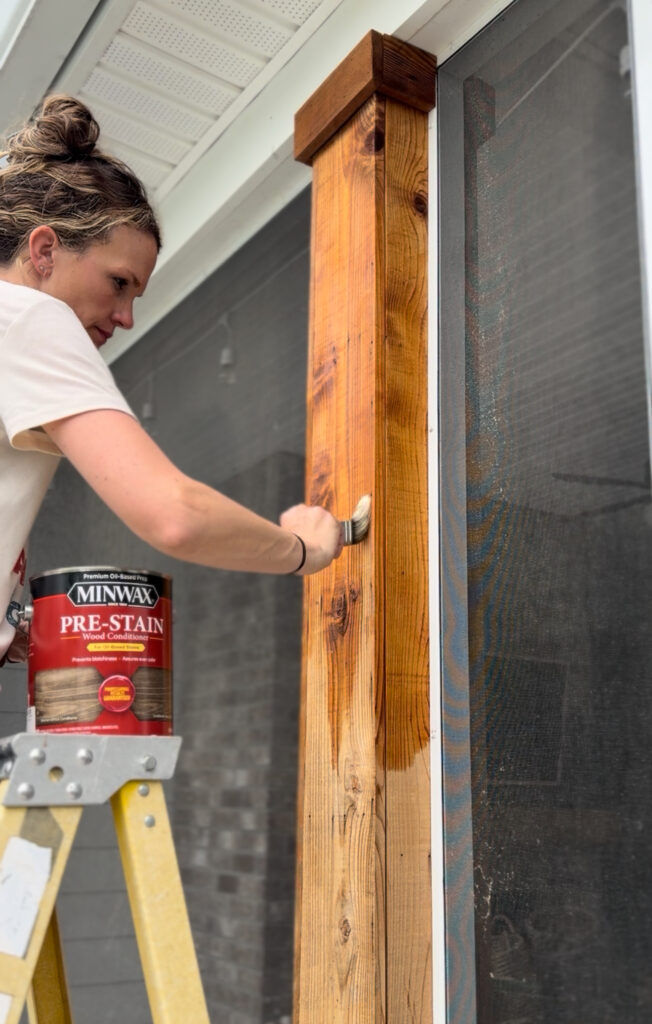
Step 3: Apply Pre-Stain Conditioner
This step is not optional! I skipped it years ago and regretted it. It helps the stain absorb evenly, prevents blotchiness, and makes the finish last longer.
Step 4: Stain
I used a high-quality paintbrush to apply Sherwin-Williams Canyon Brown exterior stain. One coat was enough in my case, but depending on your wood, a second coat might help deepen the color.

⏱ Timeline + Effort
The actual hands-on work took a few hours — minus drying time between cleaning and staining. It’s a doable weekend project, especially if you’ve already got the tools on hand like I did.
💡 Lessons Learned
- Don’t skip the pre-stain conditioner!
- Make sure the wood is fully dry between each step — otherwise the finish won’t hold.
- Use painter’s tape around the base or trim if you want super clean lines.
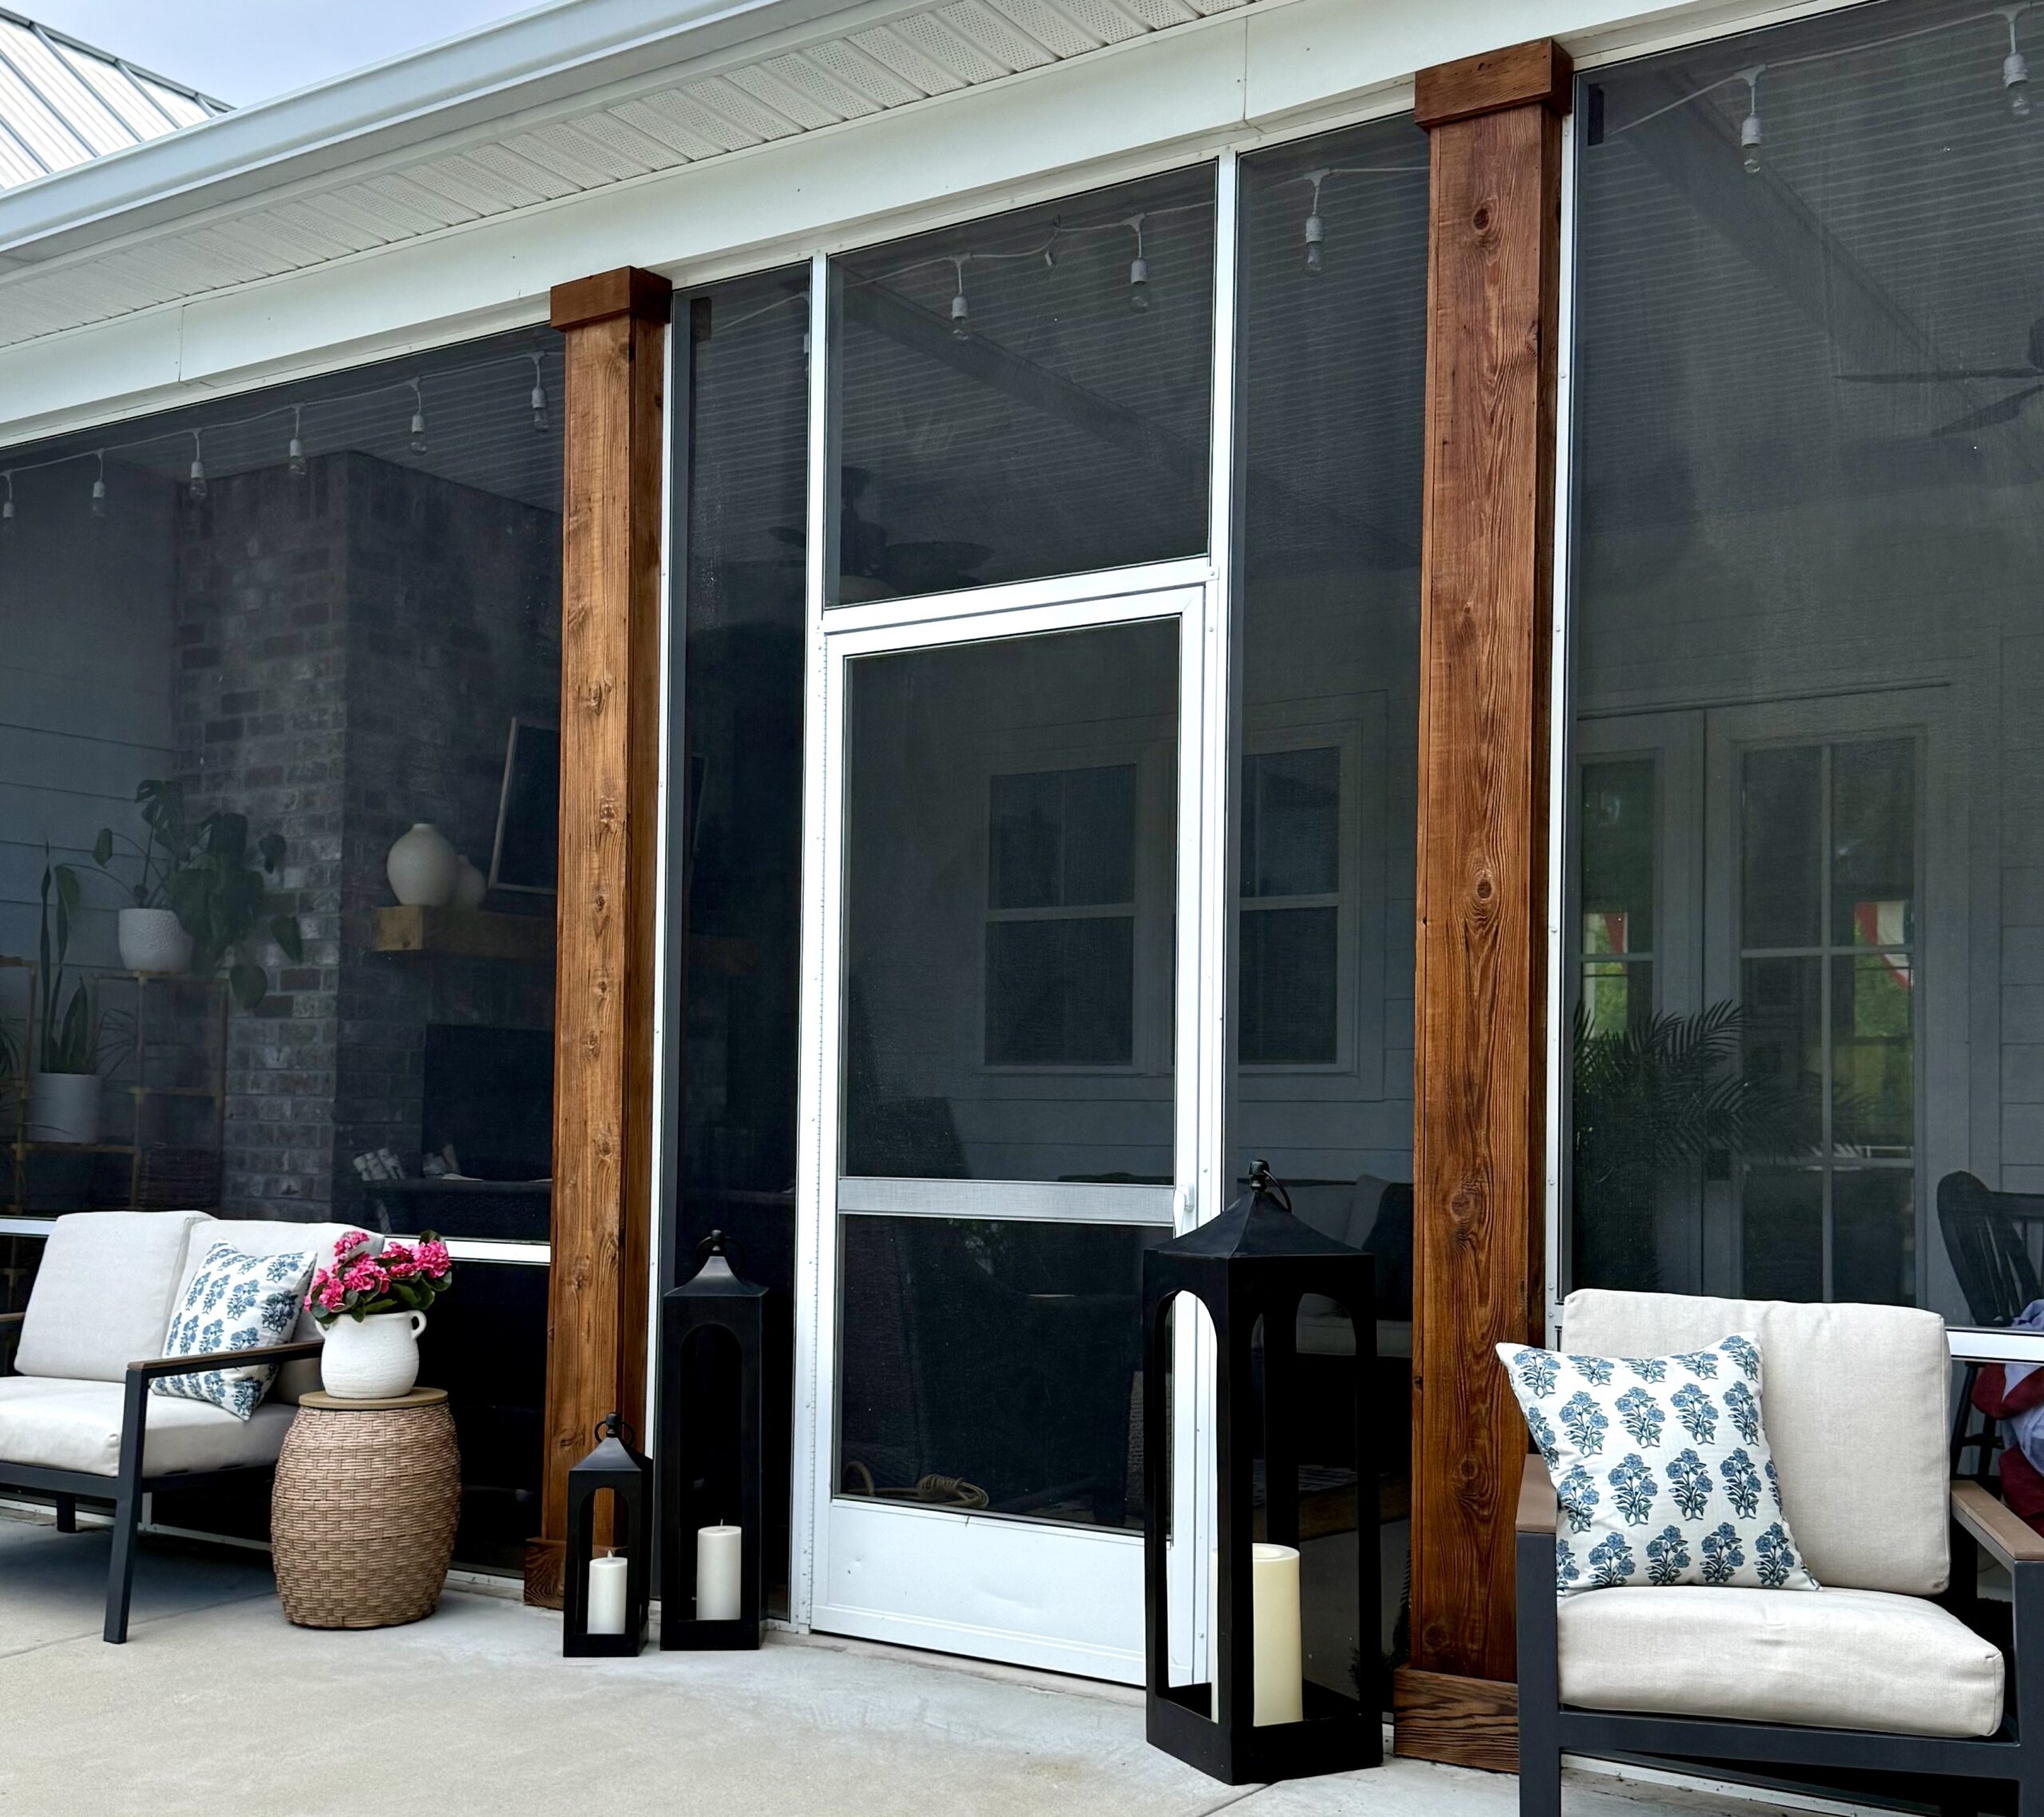
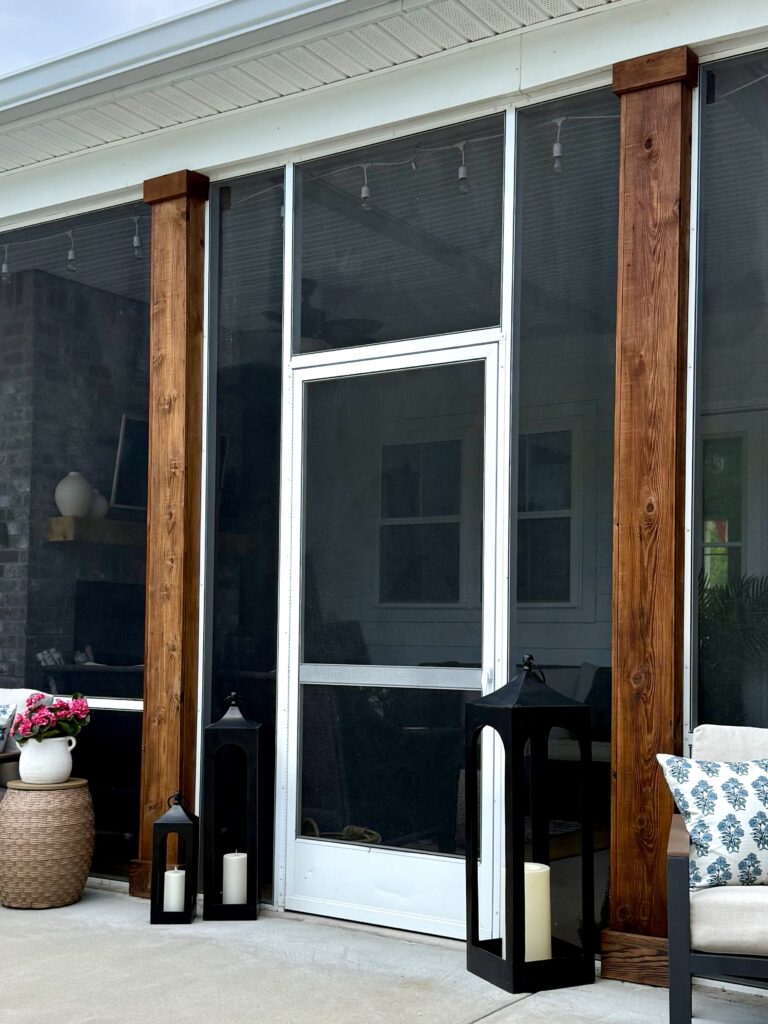
📸 Before + After
🛒 Shop the Post
Everything I used is linked here:
- Miracle Mist Mold & Mildew Stain Remover
- Electric Sander
- Pressure Washer
- Pre-Stain Wood Conditioner
- Paintbrush
- Stain: Sherwin-Williams Canyon Brown
🏡 Final Thoughts
There’s something so satisfying about bringing wood back to life. Whether it’s the first time or the fifth, this process always leaves me feeling accomplished — and makes a huge difference in our home’s curb appeal. If you’re thinking about tackling a similar project, go for it — and let me know how it goes!


Comments +